Sighting in an AR-15 isn’t much different than sighting in a bolt-action rifle, but the process does present a few unique challenges. Fortunately, whether you just bought your first AR or you’re an experienced rifle hunter, there are simple ways to overcome them.
This how-to will describe several of those strategies, so you can get your optic zeroed more quickly and move on to the fun part–sending lead downrange.
Challenge 1: Find a Good Rest
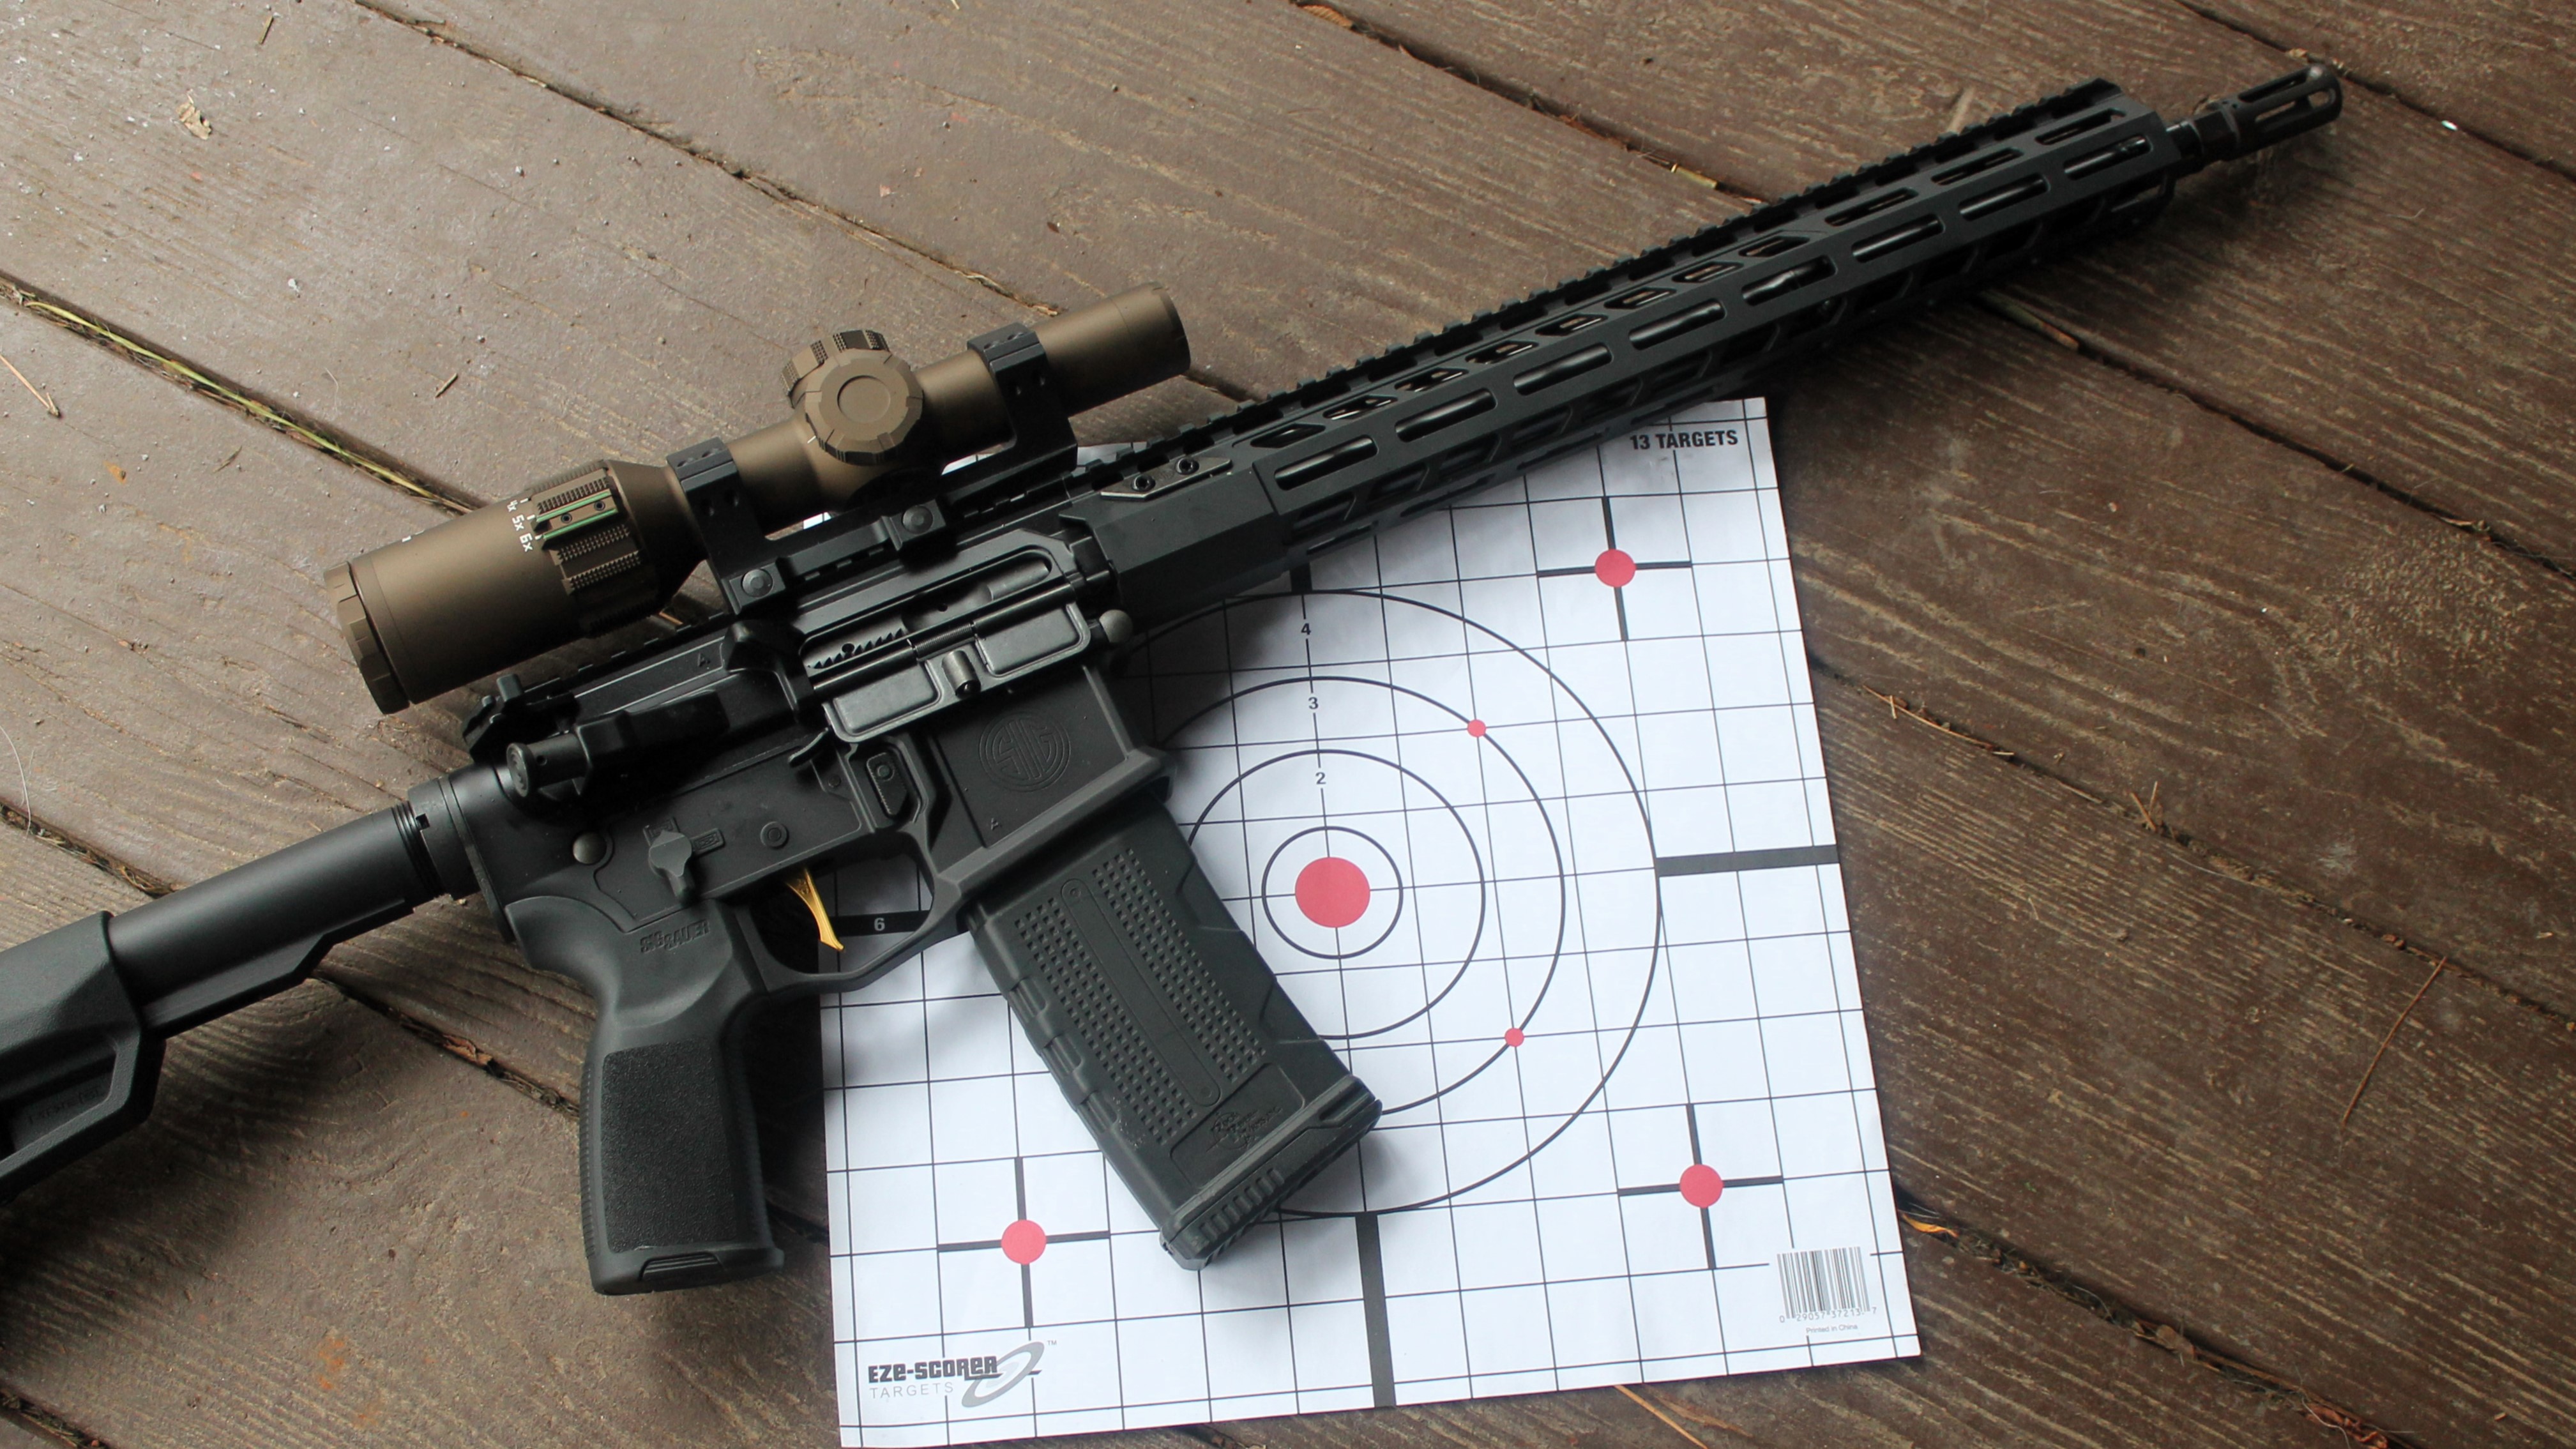
Once you’ve properly mounted your preferred optic (in my case, a Sig Sauer TANGO6), the first obstacle is finding a good rest. A 30-round AR-15 magazine extends well below the pistol grip, which means the magazine will contact the shooting table if you’re using a standard sized shooting bag.
Some use a bipod that’s high enough for the magazine to clear the table. This can work, but it forces you to find a rear bag high enough to support the stock of the gun. That’s possible, but it can be awkward and unstable, which is the opposite of what you’re going for.
A better solution is to use a lower-capacity magazine that doesn’t extend below the pistol grip of the rifle. This lets you use the same front and rear rests you would use for a bolt gun.
You could also use a Lead Sled or similar device that raises the front and rear of the firearm high enough for the magazine to clear the table. I’ve used a Lead Sled to sight in many AR-15’s over the years, and I find that it works well for this purpose.
Challenge 2: Bore Sight the Gun
You can think of “bore sighting” a rifle as getting it roughly sighted in. It’s called bore sighting because on a bolt-action rifle, you remove the bolt, peer through the bore, and line it up as closely as you can with the target. Then, without moving the rifle, you adjust the scope so it also lines up with the target. I’ve done this successfully at 100 yards a handful of times, but it usually works better at 75 or 50 yards.
It’s possible to do this with an AR-15, but it requires separating the upper from the lower and removing the bolt carrier group and charging handle. Once you’ve done that, you have to somehow secure the upper in a way that lets you look through the upper receiver and through the bore.
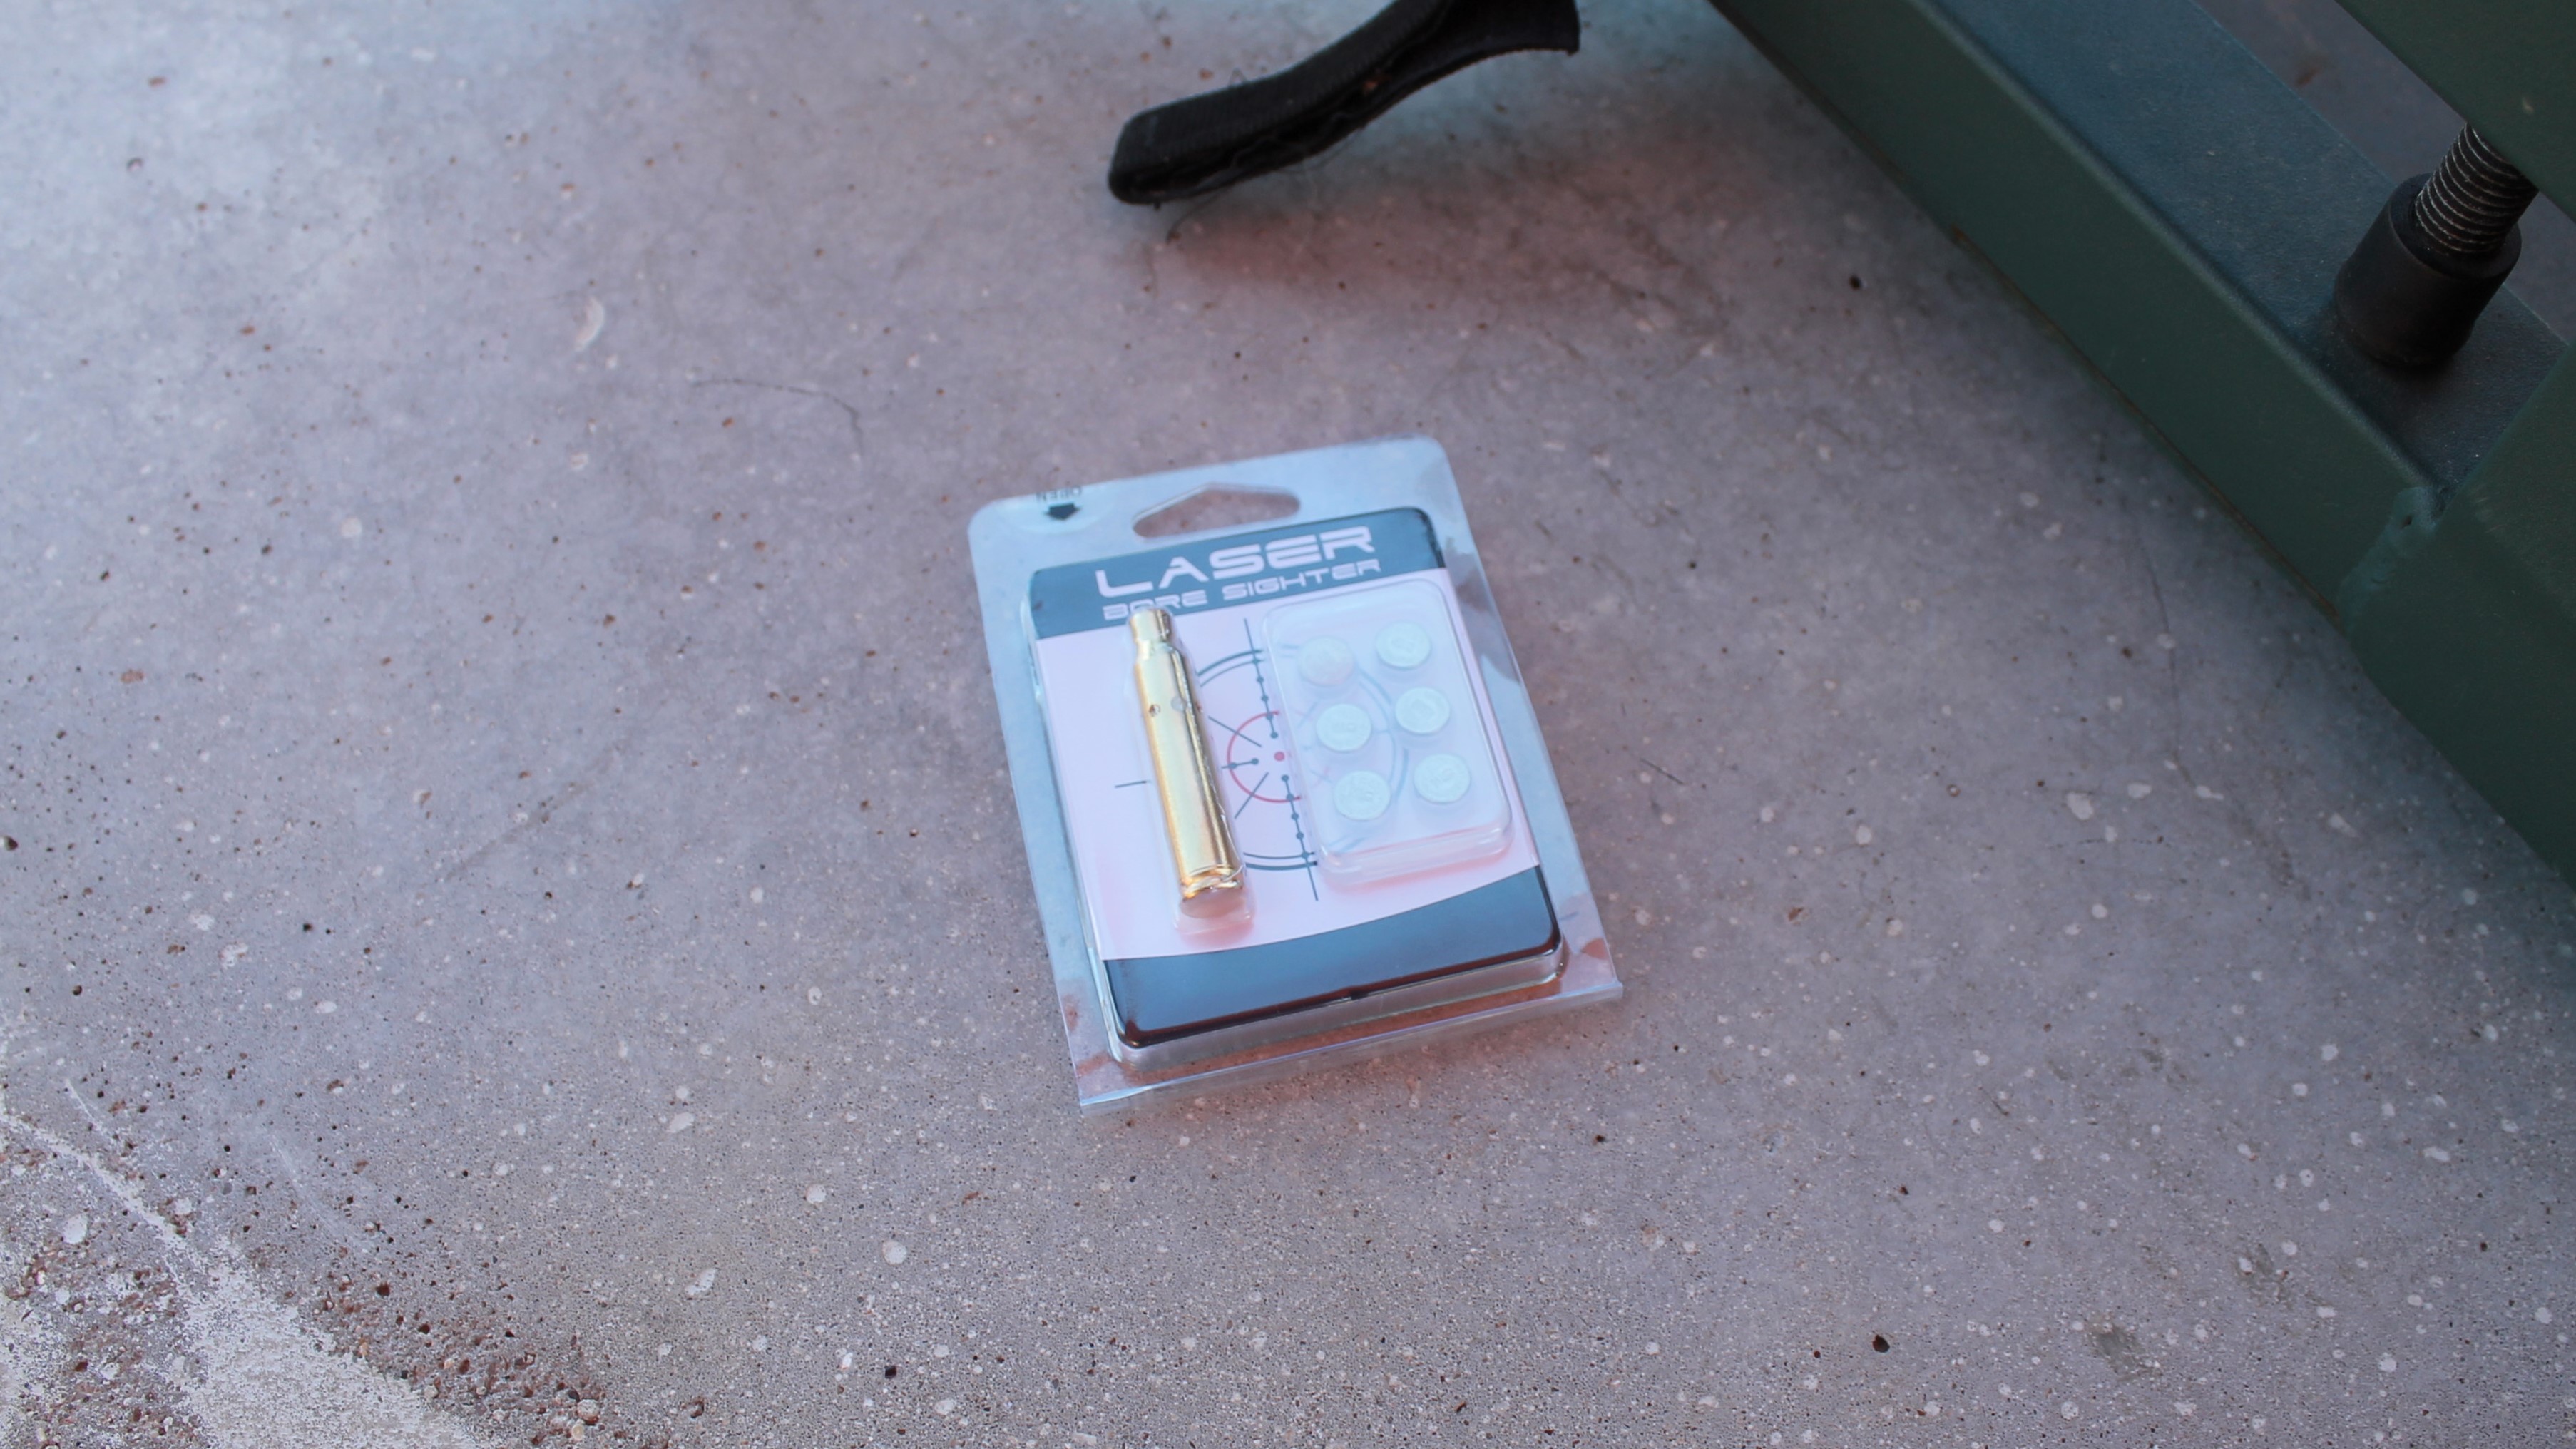
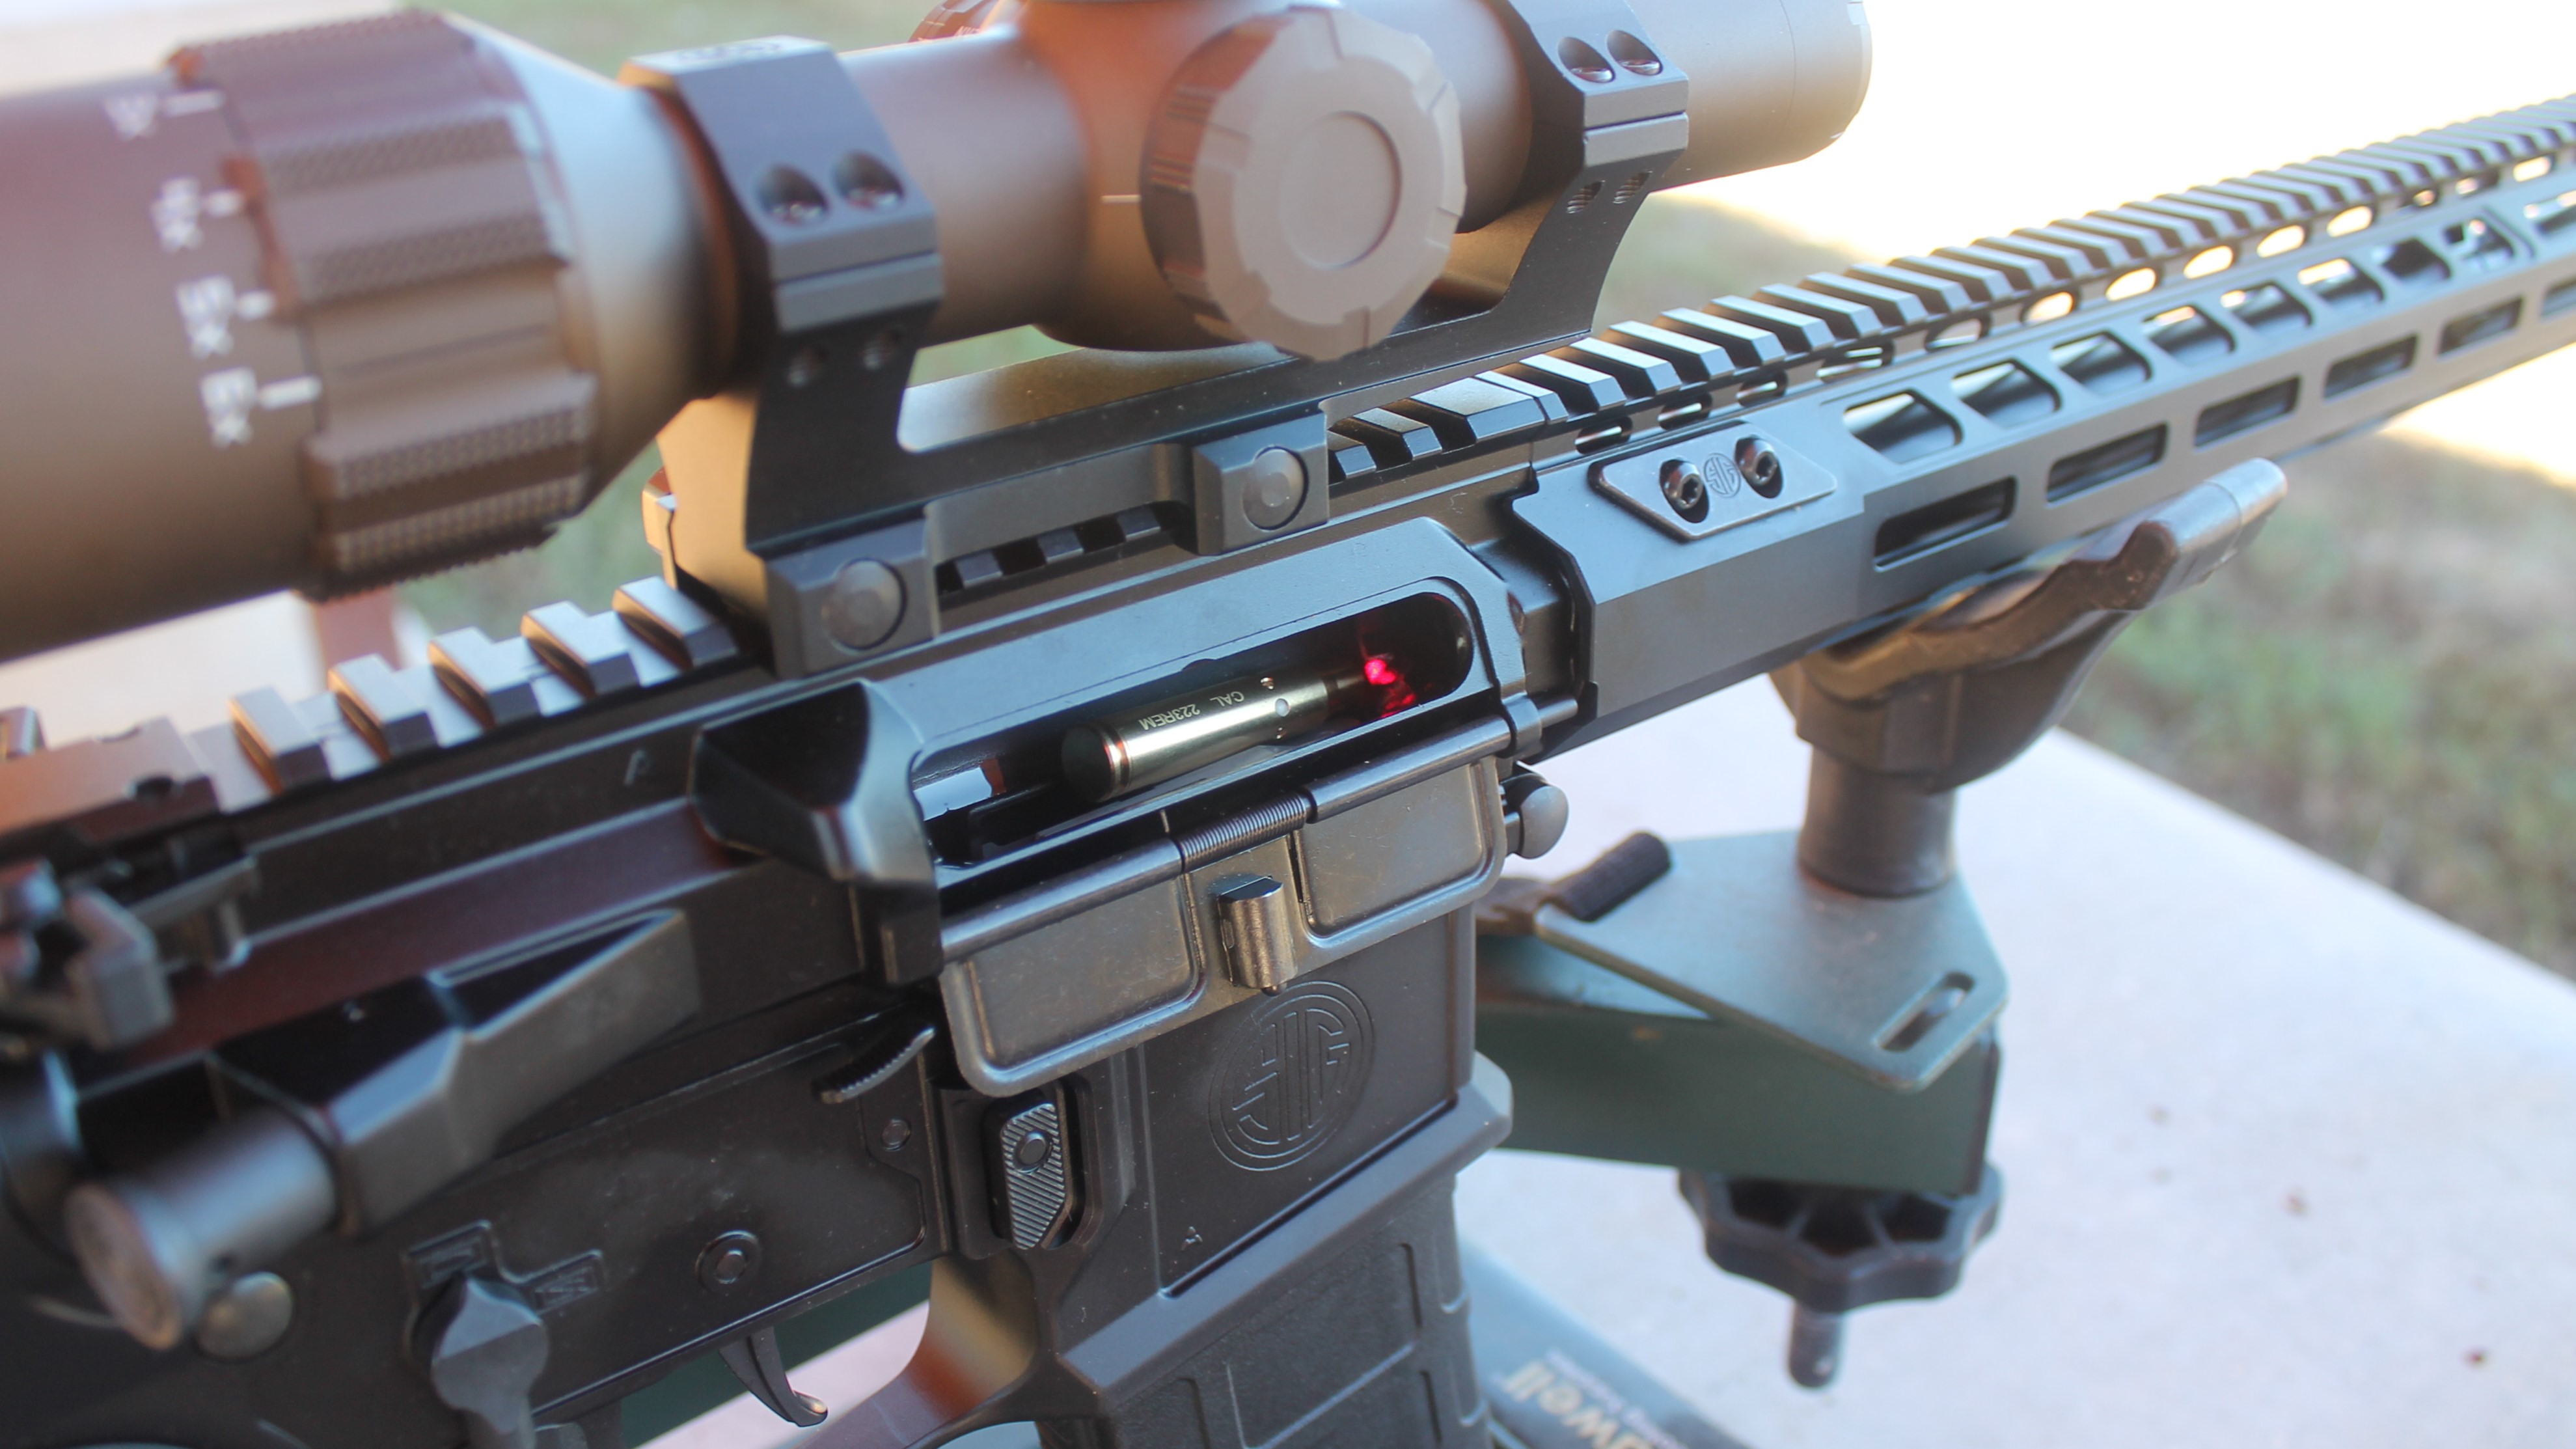
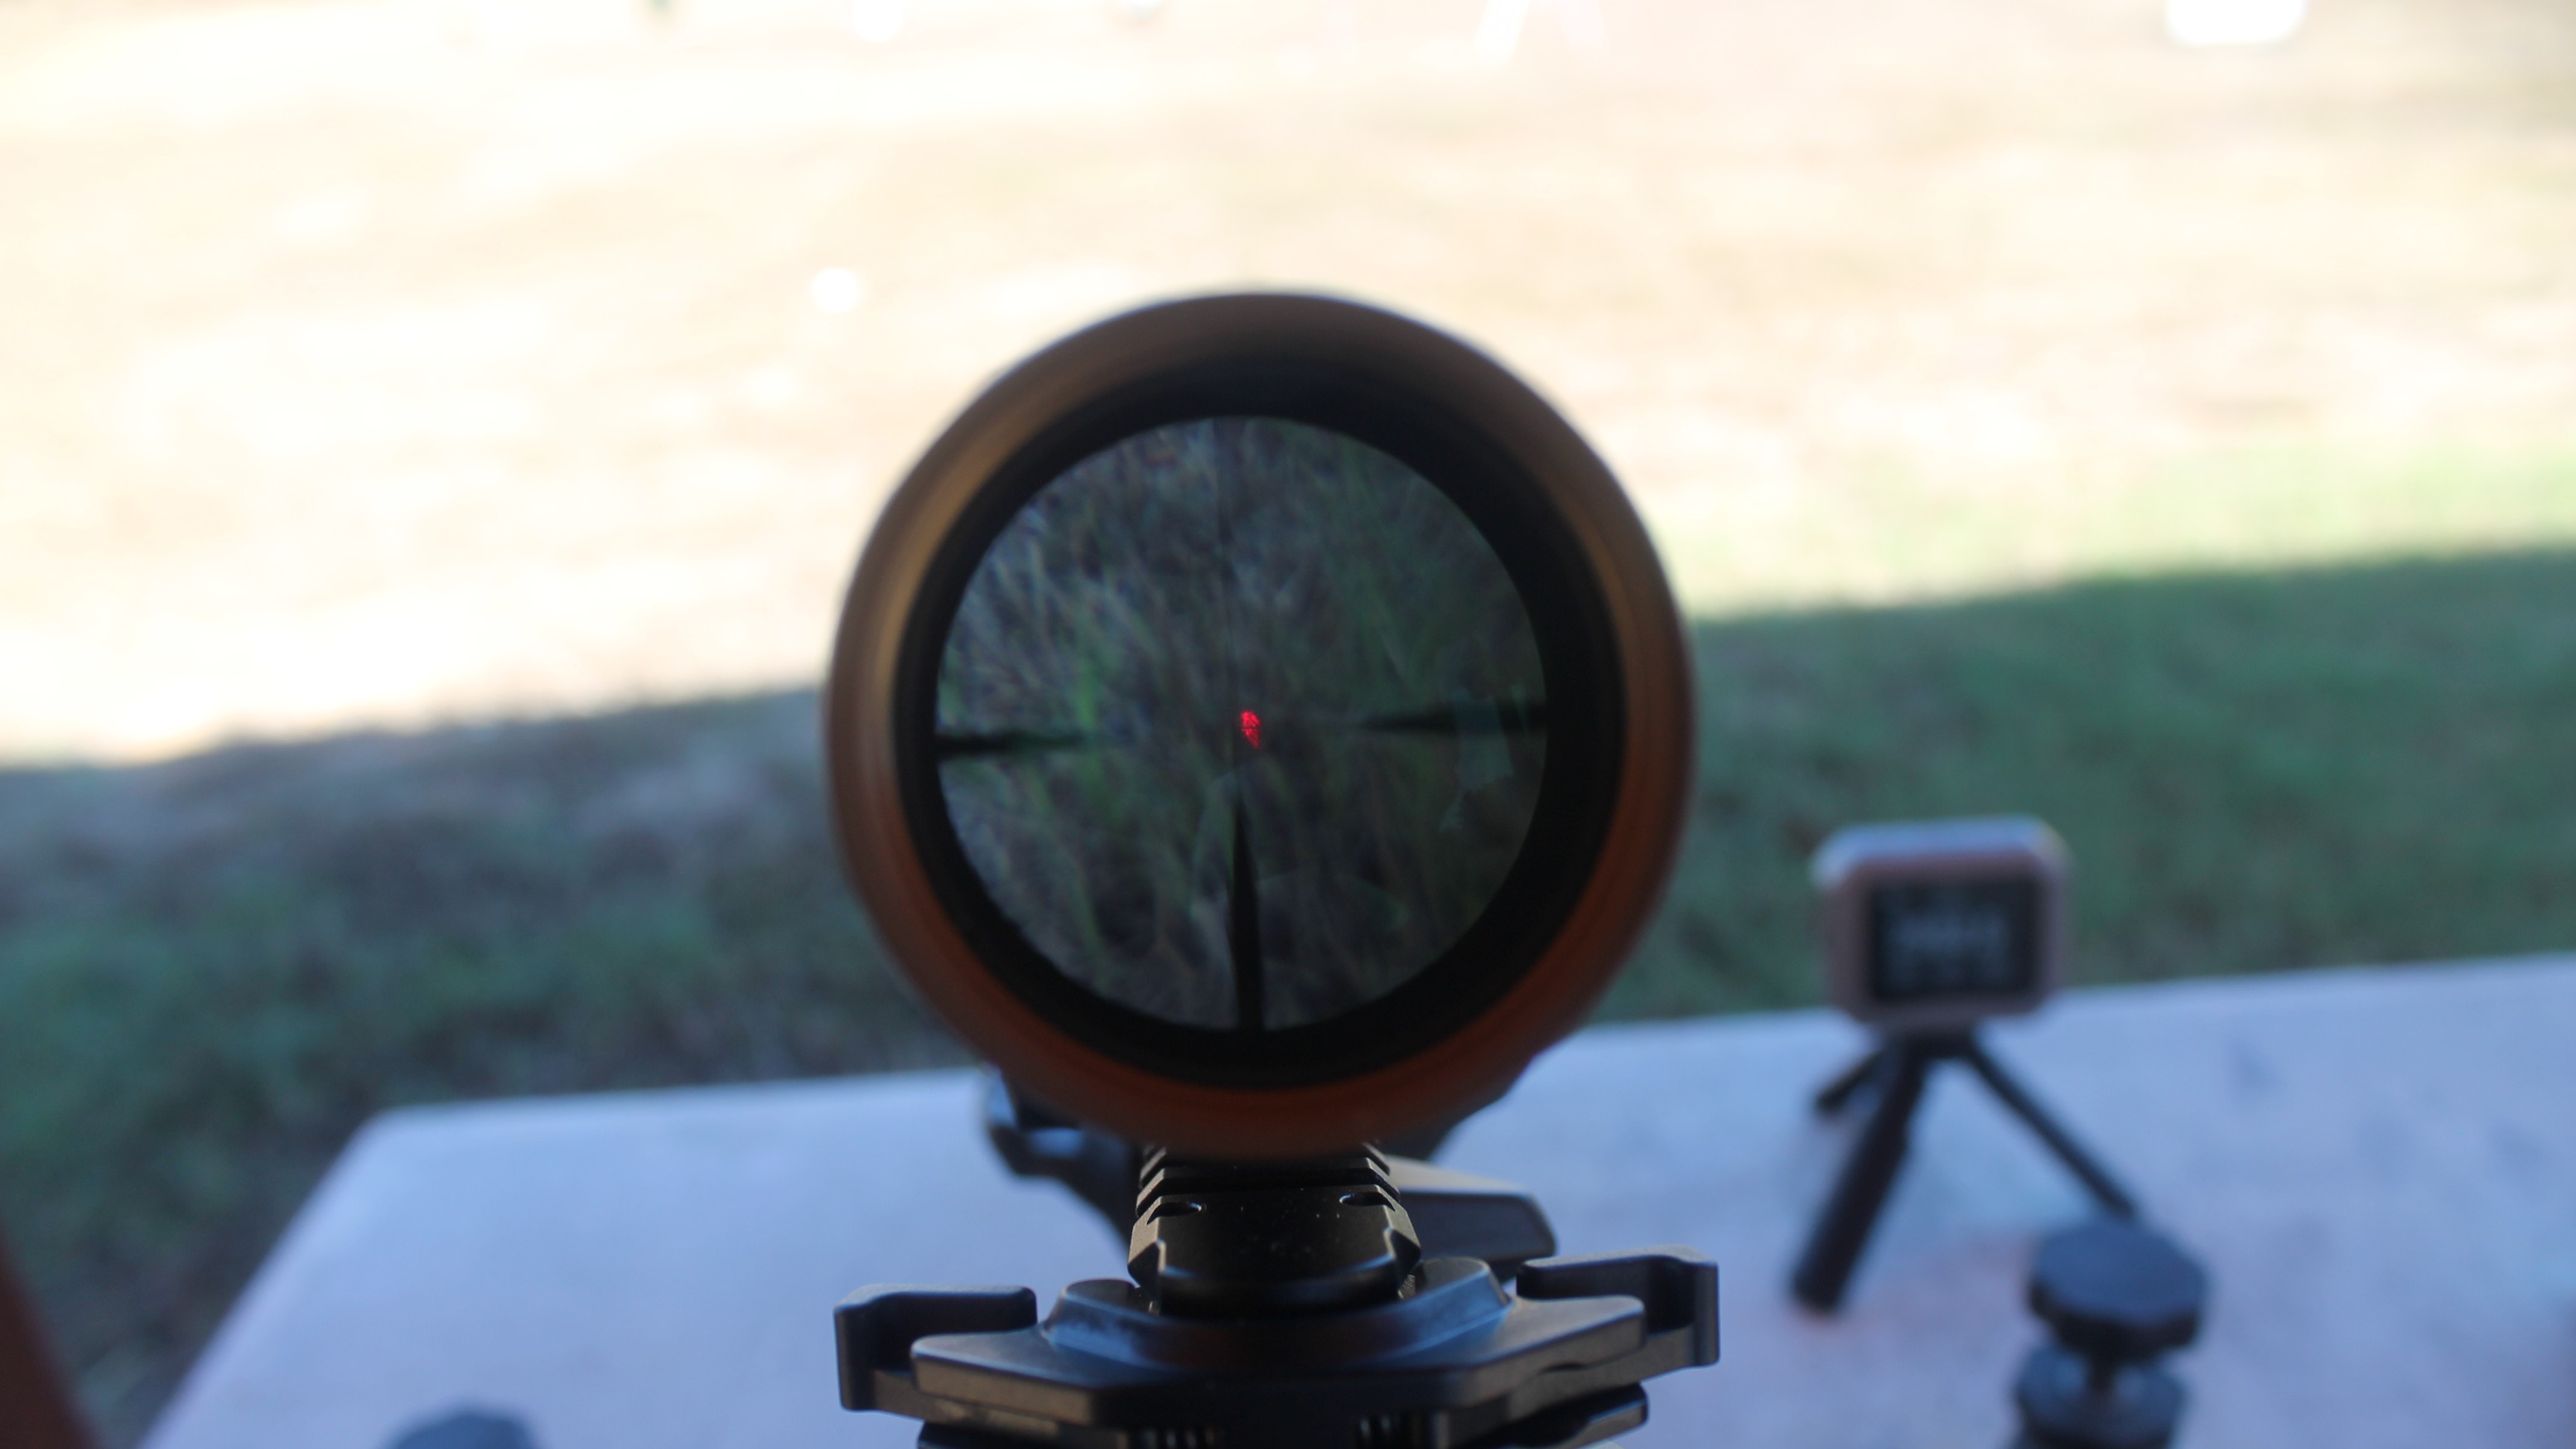
That’s not ideal, which is why I recommend using a laser bore sighting device. You can find devices that attach to the muzzle of any rifle or dummy cartridges that fit into the chamber of a specific rifle and shine a laser down the bore. That way, you can simply look through the scope and line up the reticle with the red dot on the target.
At least, that’s the theory. When I went to the range to run through this how-to myself, I realized that sun was too bright to see the small red point of light. So, as with many sight-in sessions, I had to roll with the punches.
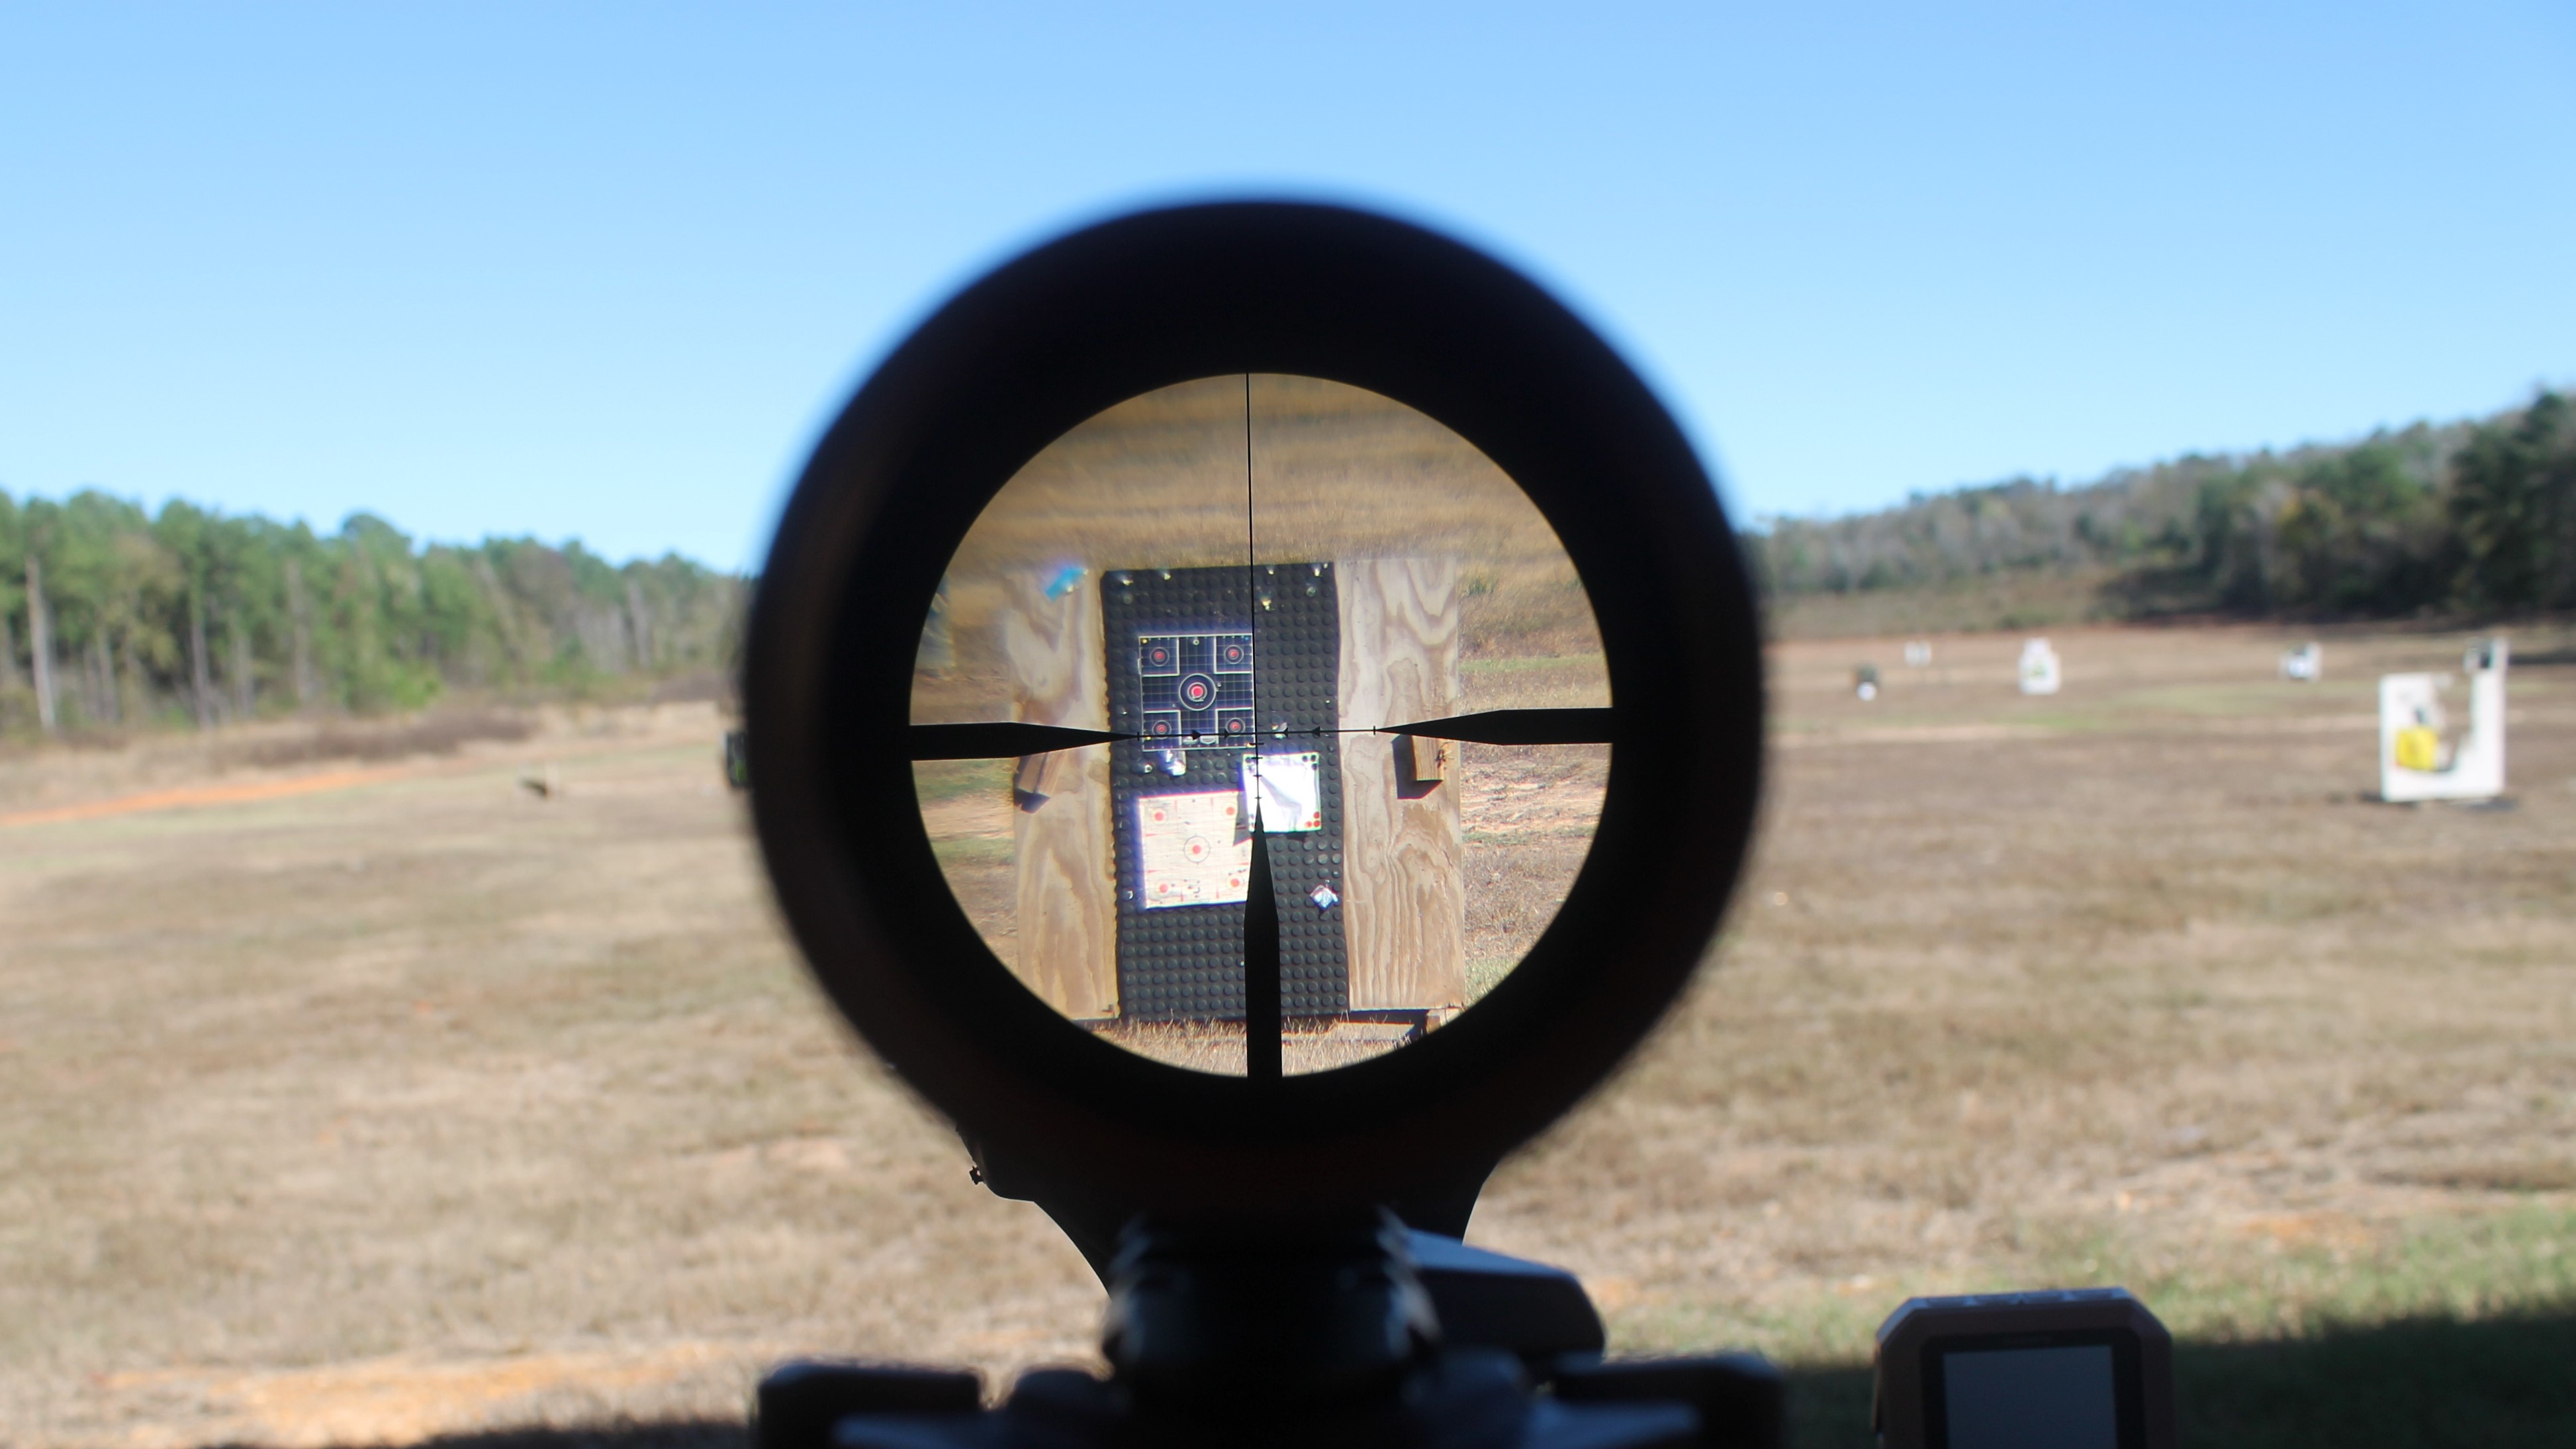
I pointed the rifle–a Sig Sauer M400-SDIX–at a shady spot on the ground where I could see the laser and adjusted the reticle to that point. Then, I shot at a target at 25 yards, noted the location of the bullet hole, and adjusted the reticle again. I repeated the process at 50 yards and then moved to 100.
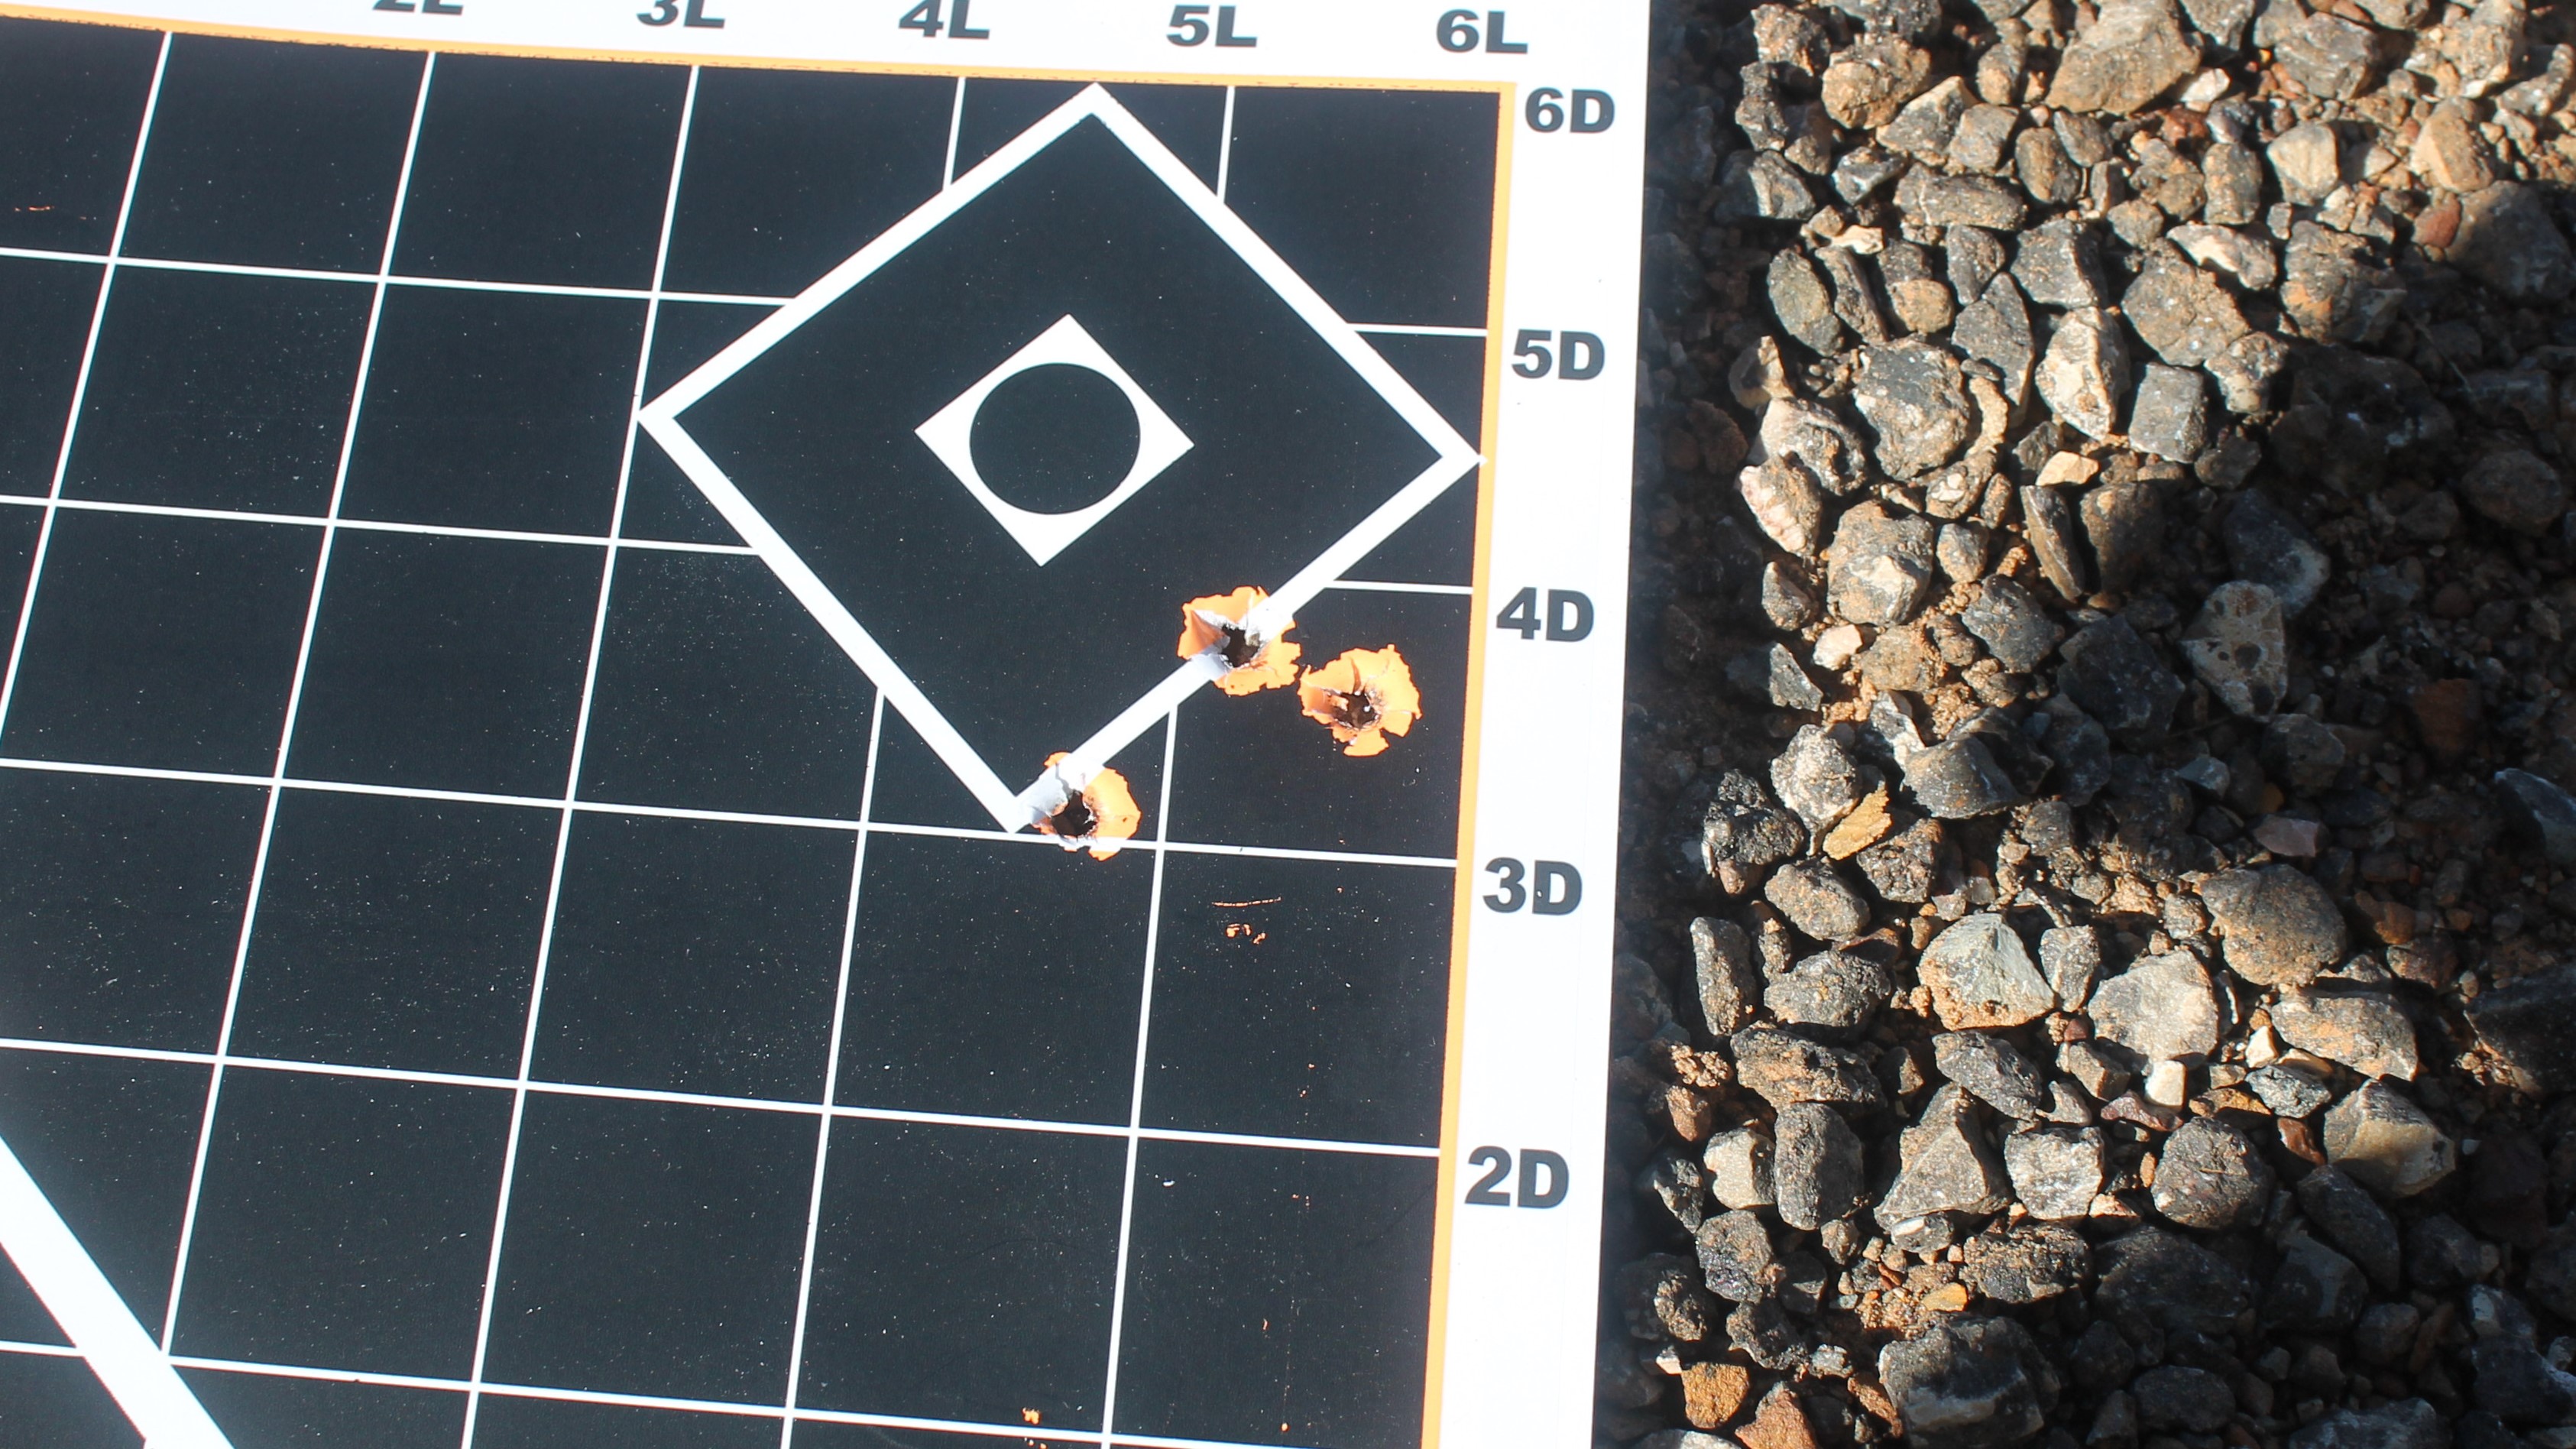
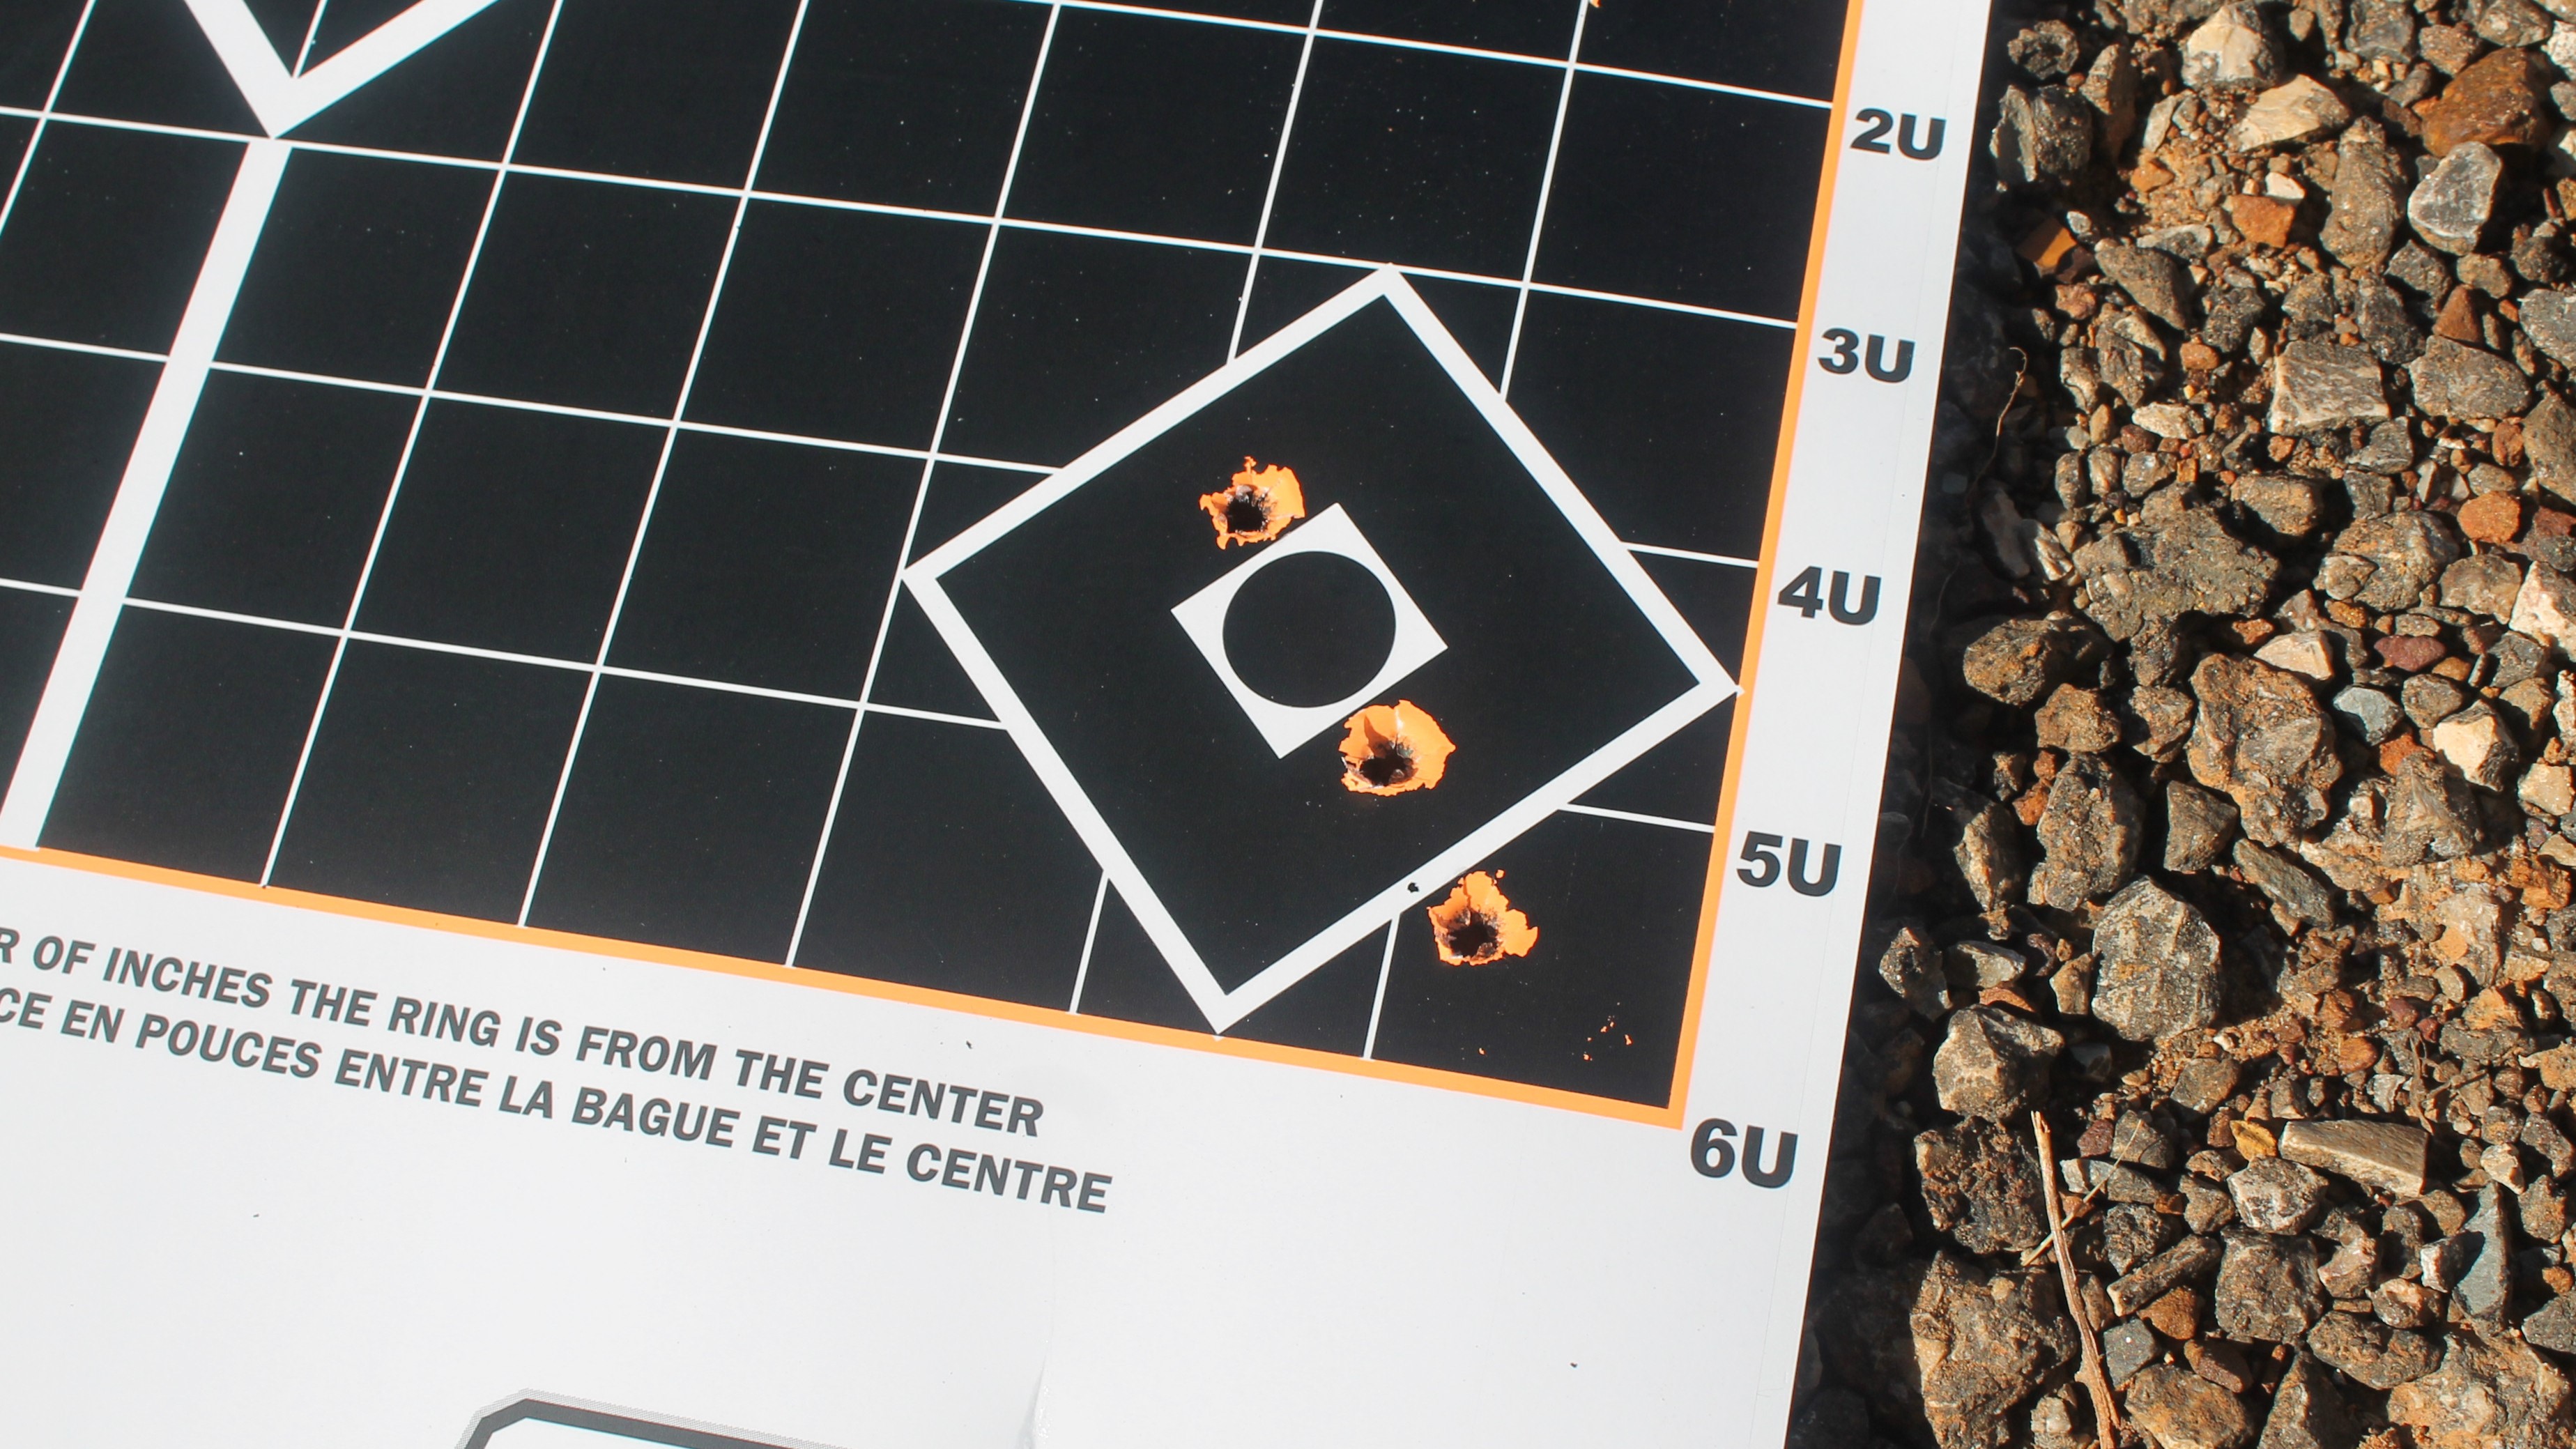
My first shot at 100 yards wasn’t on paper when I aimed at the middle of the target, so I shot at the right side of the target and noticed a bullet hole near the middle. That gave me the information I needed to adjust my scope so I was roughly sighted in at 100 yards.
(This, by the way, is one thing to try if you aren’t on paper at 100 yards. If you’re close to the middle of the target at 50 yards, odds are you’re hitting just to the right or left of the 100-yard target. Shoot a few shots on either side and see if you have any luck. But don’t waste too much ammo doing this. If you can’t get on paper in four or five shots, go back to 50 and get closer to your point of aim.)
I describe this process not to recommend it. It would have been smarter to use the laser bore sighter at home or in a darker location, then go out to the range and get on paper with live ammunition. But what many gun writers won’t tell you is that the actual sight-in process doesn’t always go as planned. Sometimes, it takes trial and error to get on paper, and that’s OK. Just keep working at it, move closer if you can, and use your least expensive ammunition.
Challenge 3: Refine the Zero
After you land a few shots on paper at your chosen zero distance, the final step is to refine your point of aim so it matches your point of impact.
If you’re fortunate enough to own an accurate AR-15, this is exactly like sighting in a bolt-action hunting rifle. Shoot a three- or five-shot group, adjust the scope, and shoot another. The more groups you shoot, the more precisely your rifle will be zeroed. (Just be sure to let the rifle cool after each group.)
However, if you’re like most AR-15 owners, you might notice that your AR-type rifle isn’t quite as consistent as your bolt-action hunting rifle. That’s perfectly normal, but it begs the question: if the groups are large (two inches or more), how do you adjust the scope to maximize your odds of making a good shot?
In that scenario, I shoot 15 or 20 shots at the same point of aim without adjusting my scope. There are still a few outliers, but a concentrated group of bullet holes usually begins to emerge. I then estimate the center of that group, adjust my scope to that point, and shoot additional groups. I do this until I’m confident that even if the bullets don’t always impact the bull’s eye, they are evenly distributed around the bull’s eye without consistently skewing up, down, left, or right.
If your rifle is really throwing bullets all over the target, give the rifle a good cleaning and try a different bullet weight or style. You’ll be amazed how much better an AR-15 can shoot with nothing more than an ammunition swap.
Last Shot
Sighting in a rifle, especially an AR-15, can be an incredibly frustrating process. I still waste ammo trying to get on paper at 100 yards when I should just move back to 50 or 25 and figure out what’s going on. The good news is that it doesn’t have to be that way. If you take your time, stay patient, and work through the process above, you’ll be ringing steel and bagging coyotes in no time.
Read the full article here

